8 Hand Signals to Train Your Dog: Essential Commands for Effective Communication
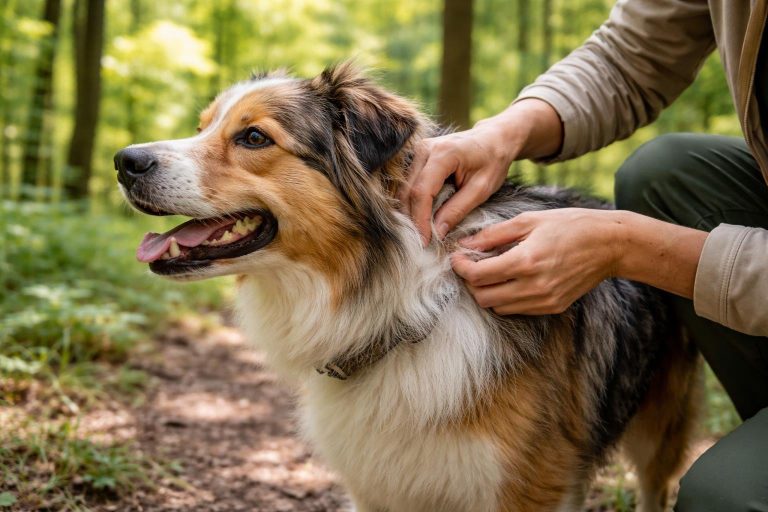
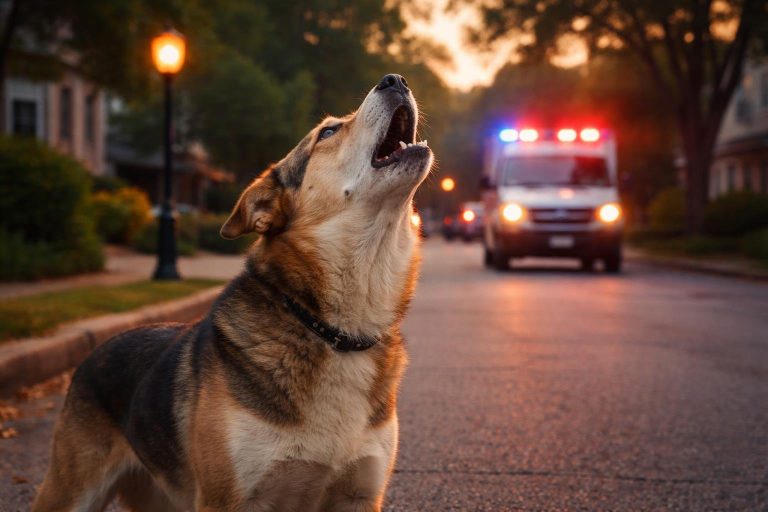
Dogs naturally pay more attention to body language than words, which makes hand signals a powerful training tool. Hand signals create clear, visual cues that dogs can understand quickly, even in noisy places or when verbal commands are hard to hear. This type of training works well for all dogs, including puppies, older dogs, and those with hearing problems.
Learning hand signals strengthens the bond between dogs and their owners through better communication. The training process is simple and builds on basic commands most dogs already know. With practice, dogs learn to respond to silent signals just as well as spoken words.
This guide covers the basics of hand signal training and walks through eight important signals every dog should learn. It explains how to start training, avoid common mistakes, and combine hand signals with spoken commands for the best results.
Benefits of Using Hand Signals
Hand signals create a visual connection between dogs and their owners that strengthens training outcomes. Dogs naturally read body language, making visual cues an effective tool that works alongside or instead of voice commands.
Enhanced Communication
Dogs are naturally skilled at reading body language and visual cues from their environment. Hand signals tap into this innate ability, allowing owners to communicate in a way that feels more natural to their pets.
Visual cues cut through background noise and distractions that might drown out verbal commands. A dog can see a hand signal from across a park or through a window, even when hearing the owner’s voice would be impossible. This makes hand signals particularly useful in busy environments like dog parks, crowded streets, or noisy households.
Hand signals also eliminate confusion caused by different family members using varying verbal tones or words. A raised palm always means the same thing, regardless of who presents it. This consistency helps dogs learn faster and respond more reliably to commands.
Faster Response Time
Dogs process visual information quickly, often faster than they process sounds. Studies show that dogs can react to hand signals more rapidly than verbal commands because their brains are wired to interpret body language.
The combination of hand signals and verbal commands during training creates stronger neural pathways in a dog’s brain. Once a dog masters both forms of communication, owners can use just the hand signal for quicker responses. This speed proves valuable in situations requiring immediate action, such as stopping a dog from running into traffic or calling them back from a potential danger.
Many professional trainers rely on hand signals during competitions and work scenarios precisely because they produce faster, more precise responses from dogs.
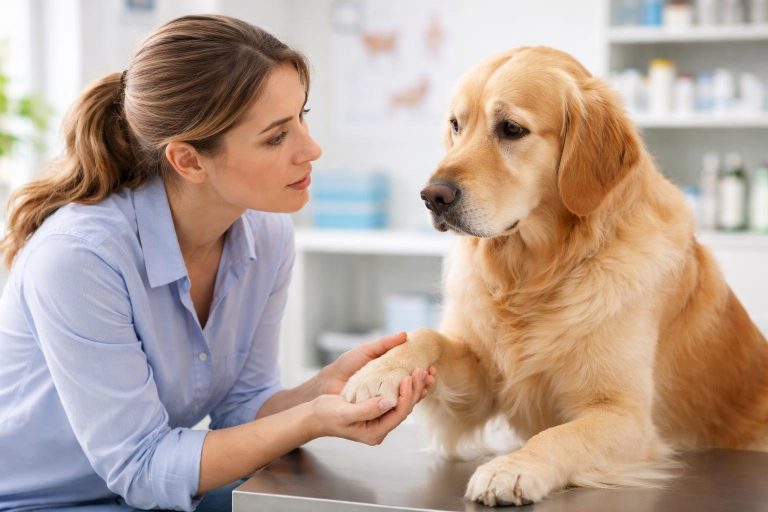
Support for Hearing-Impaired Dogs
Dogs can lose their hearing due to age, illness, or genetics. Hand signals become essential for communicating with deaf dogs or those experiencing hearing loss.
Training a dog with hand signals from the start provides a built-in backup system if hearing problems develop later in life. Older dogs who already know hand signals can transition smoothly as their hearing fades, maintaining their training and quality of life without starting from scratch.
Deaf dogs can learn the same commands as hearing dogs using only visual cues. These dogs often become highly attentive to their owners’ movements and gestures, sometimes responding even better than dogs who rely solely on verbal commands.
Preparing Your Dog for Signal Training
Success with hand signals depends on creating the right conditions before starting any training. A dog learns best when the environment supports focus, motivation stays high through proper rewards, and practice happens on a regular schedule.
Selecting a Distraction-Free Environment
The training location plays a major role in how quickly a dog learns hand signals. Dogs need to see the handler clearly without competing sights, sounds, or smells pulling their attention away.
A quiet room inside the home works well for initial training sessions. The space should have good lighting so the dog can easily see hand movements. Windows with outdoor activity, other pets in the room, or loud noises from appliances create unnecessary challenges for beginners.
Ideal training spaces include:
- Empty living rooms or bedrooms with doors closed
- Garages with minimal clutter
- Fenced backyards during calm weather (after indoor mastery)
- Quiet areas of local parks (for advanced practice only)
The handler should stand 3-5 feet from the dog initially. This distance allows the dog to see full hand signals without straining while keeping them close enough to receive rewards quickly.
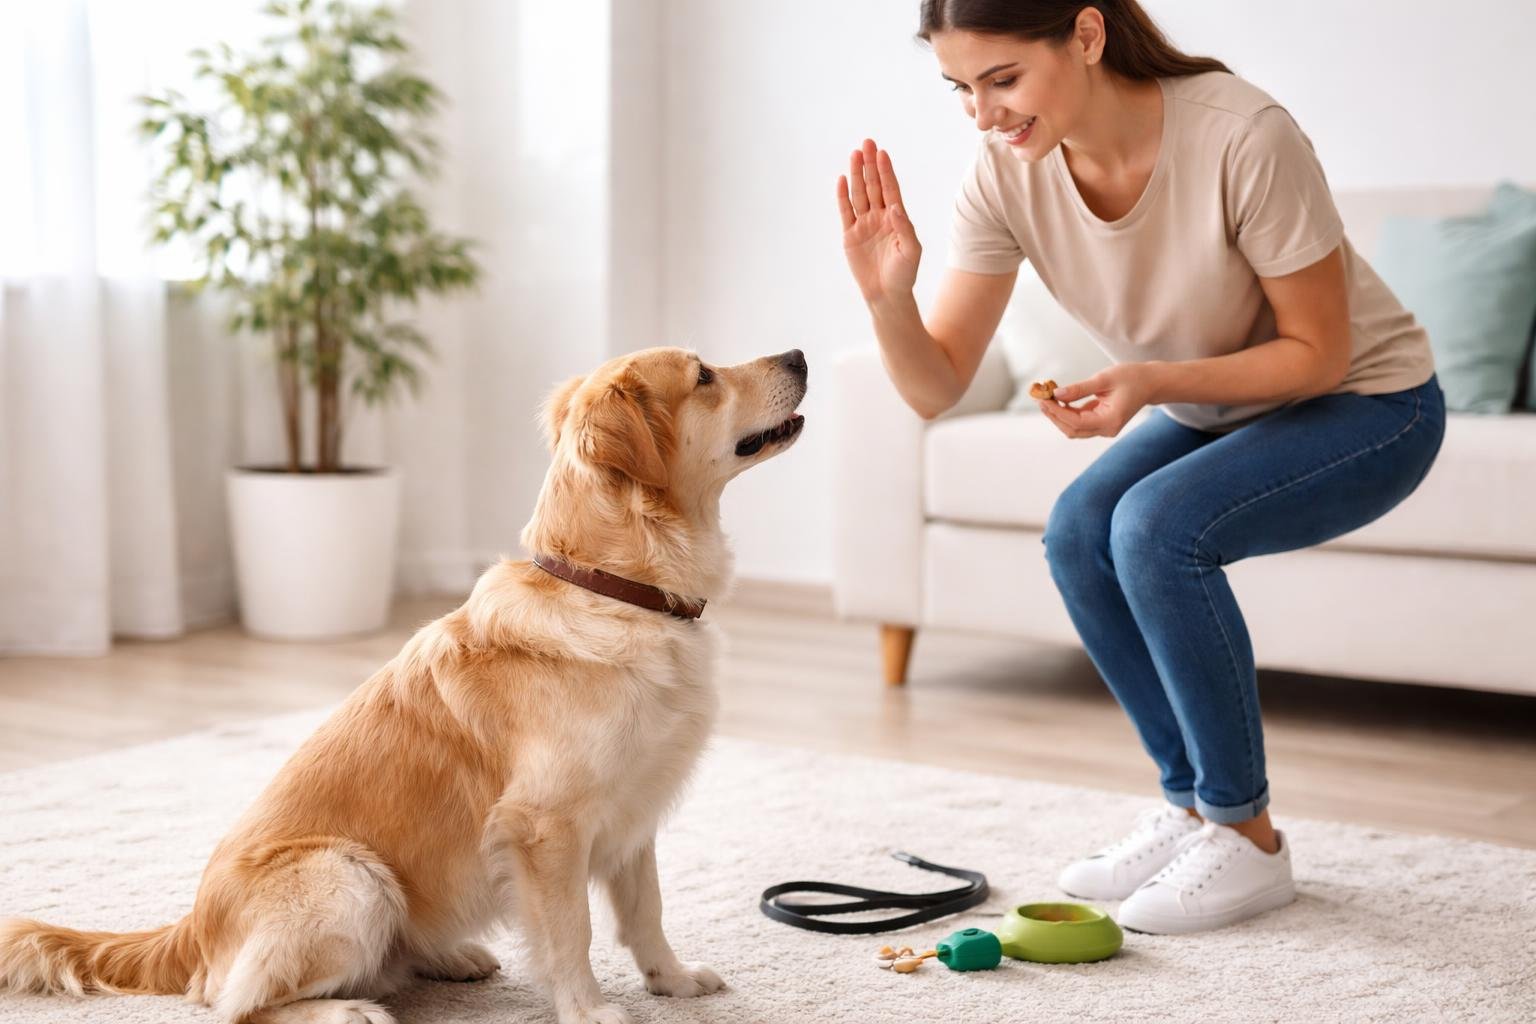
Choosing Appropriate Rewards
Rewards must be valuable enough to keep a dog engaged throughout multiple repetitions. Different dogs respond to different motivators, so handlers need to identify what works best for their individual pet.
High-value treats work for most dogs during signal training. Small, soft pieces that dogs can eat quickly prevent long breaks between repetitions. Treats should be pea-sized to avoid filling up the dog too fast. Options include cooked chicken, cheese cubes, commercial training treats, or hot dog pieces.
Some dogs respond better to toy rewards or praise. A quick game with a favorite ball or enthusiastic verbal praise can be just as effective as food. The key is using whatever maintains the dog’s enthusiasm without causing overexcitement that breaks focus.
Setting Consistent Training Sessions
Regular practice sessions help dogs retain what they learn and build new skills faster. Short, frequent sessions produce better results than long, irregular ones.
Training sessions should last 5-10 minutes for most dogs. Puppies and easily distracted dogs may need even shorter sessions of 3-5 minutes. Two to three sessions per day, spaced several hours apart, allows dogs to practice without mental fatigue.
The same time slots each day help dogs anticipate training and arrive ready to focus. Morning sessions before breakfast and evening sessions before dinner often work well since dogs are naturally motivated by upcoming meals. Handlers should end each session on a positive note, even if that means finishing with an easier signal the dog already knows.
Essential Hand Signals Explained
Teaching a dog hand signals creates a reliable form of communication that works even in noisy environments or as the dog ages and may lose hearing. The three foundational commands—sit, stay, and down—form the basis of good behavior and control.
Sit
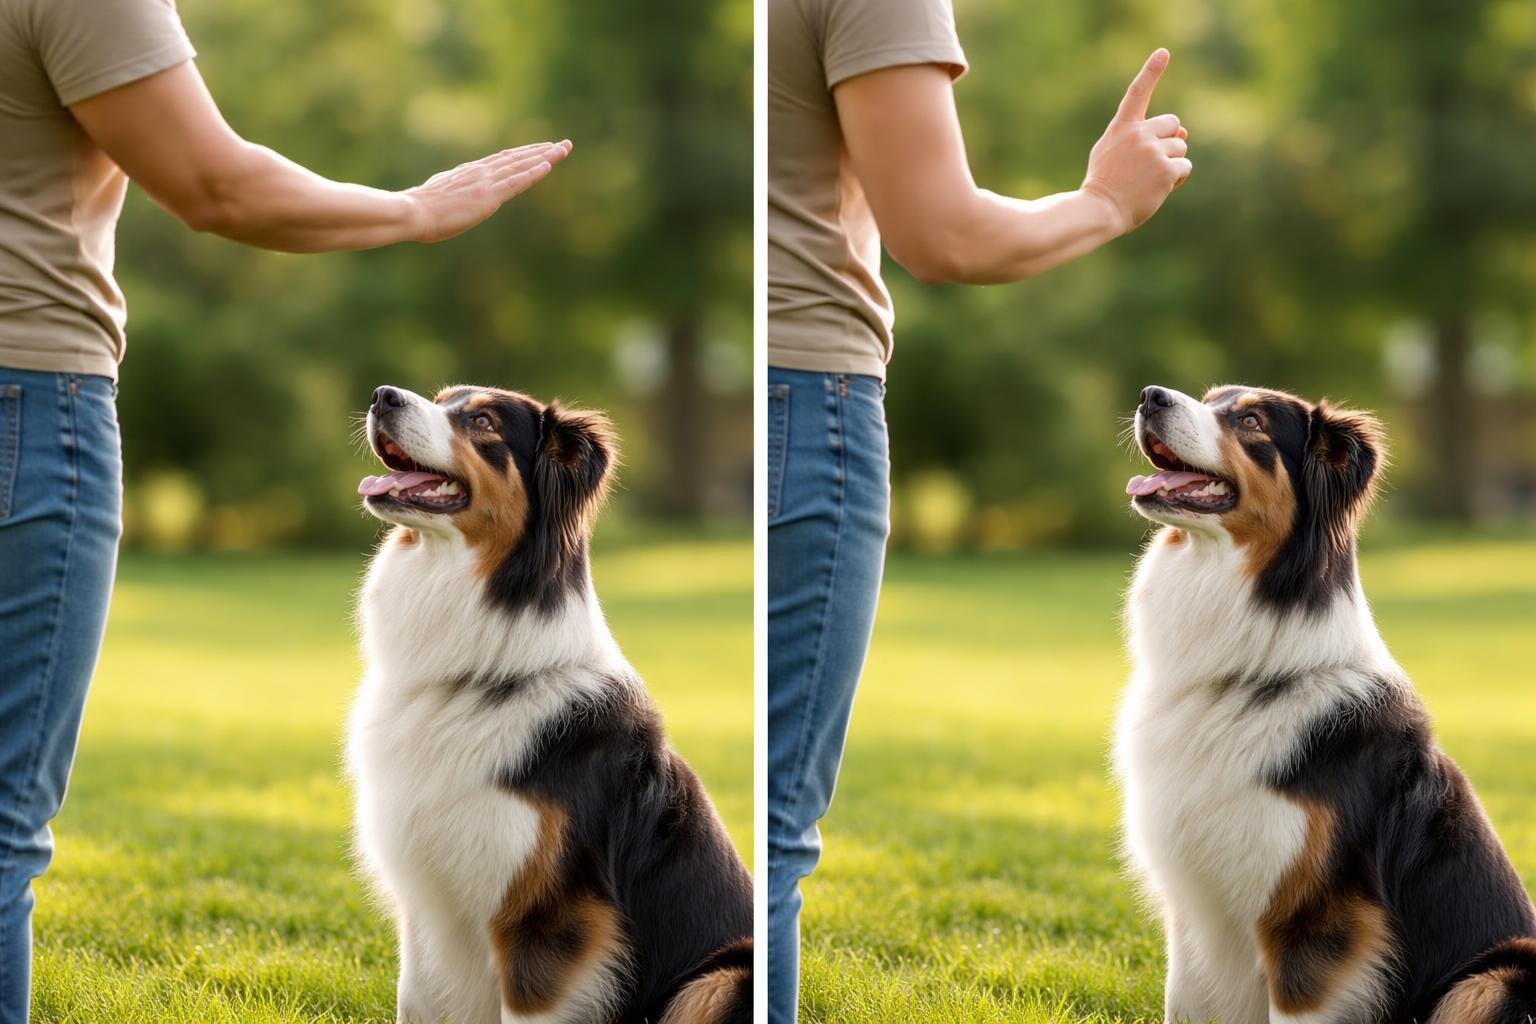
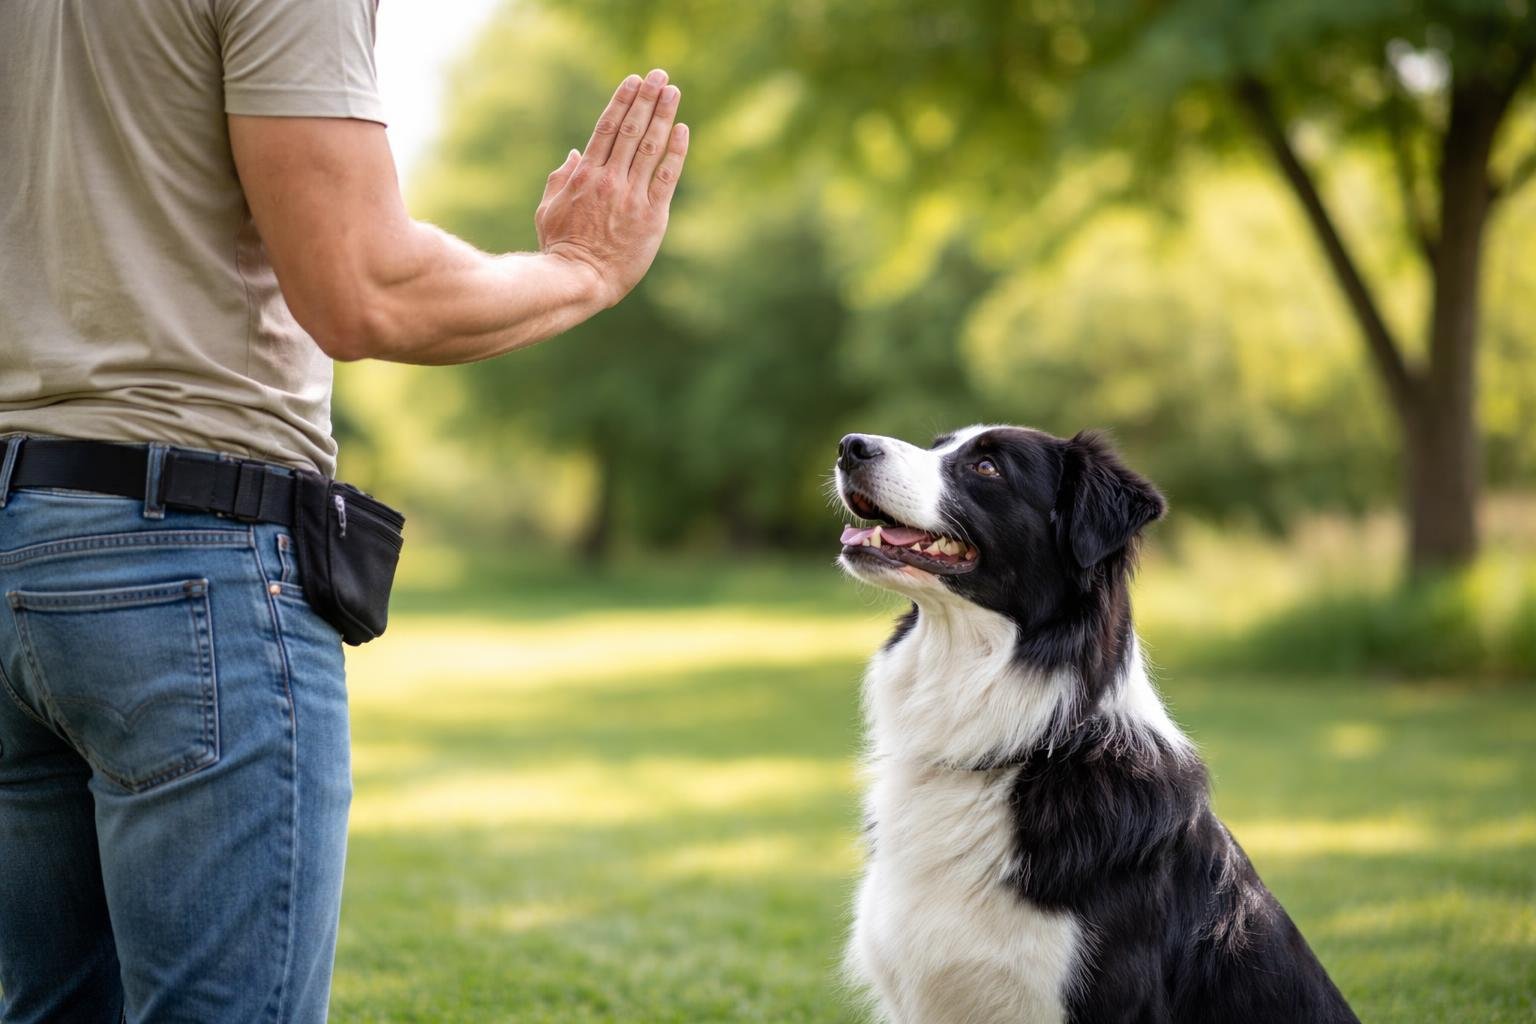
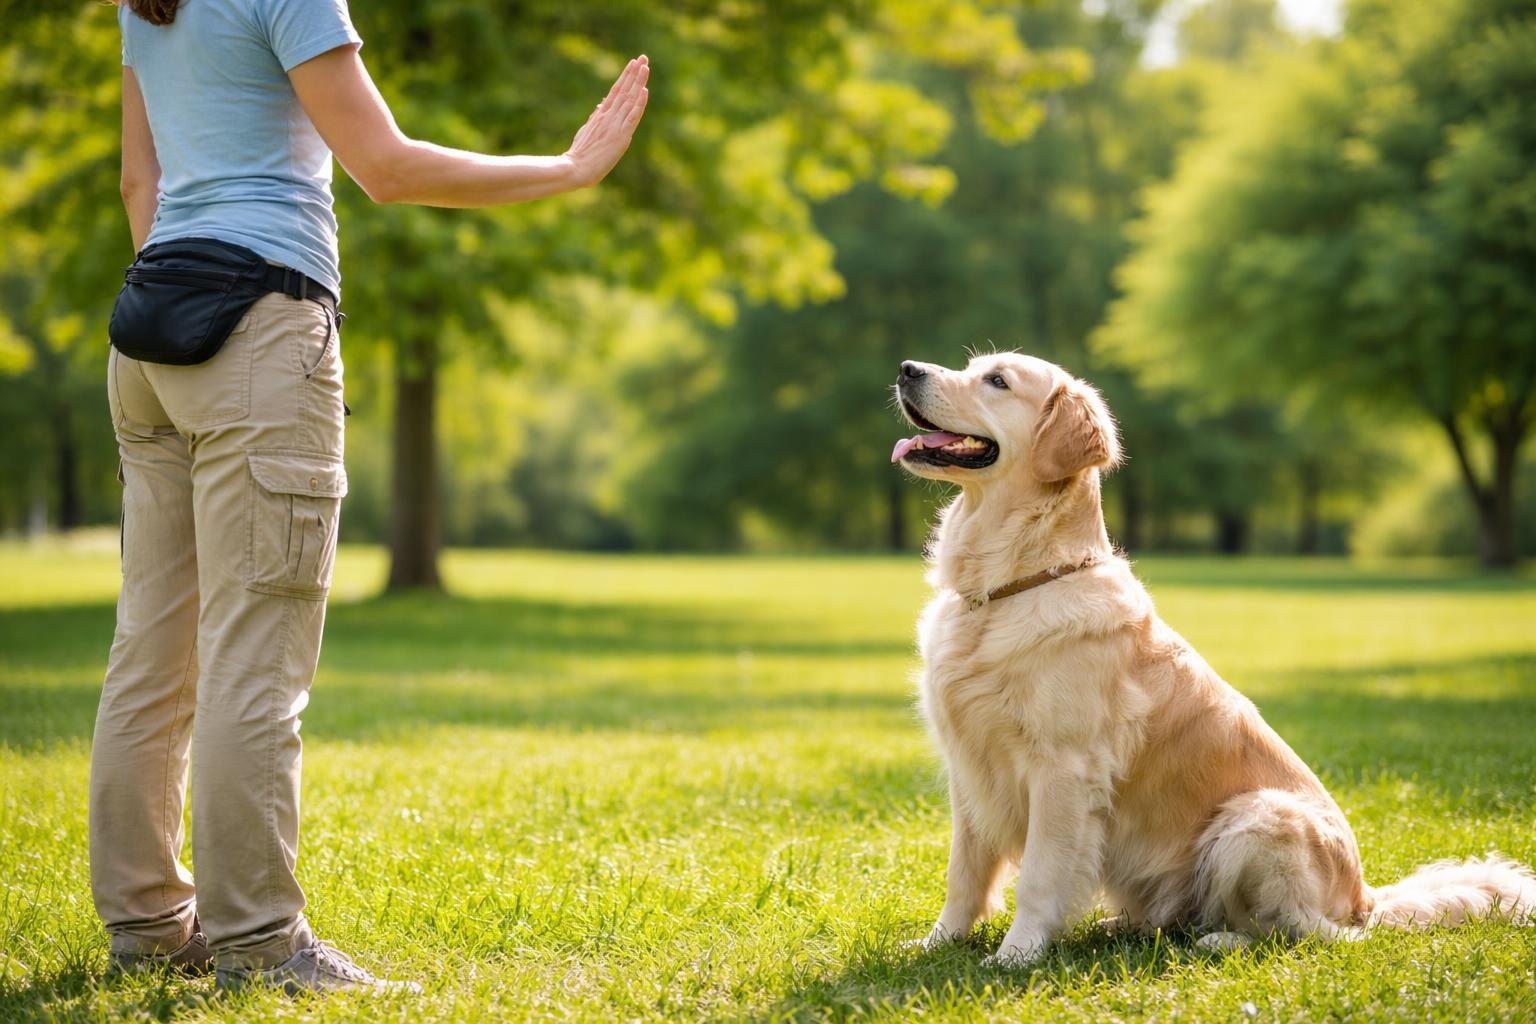
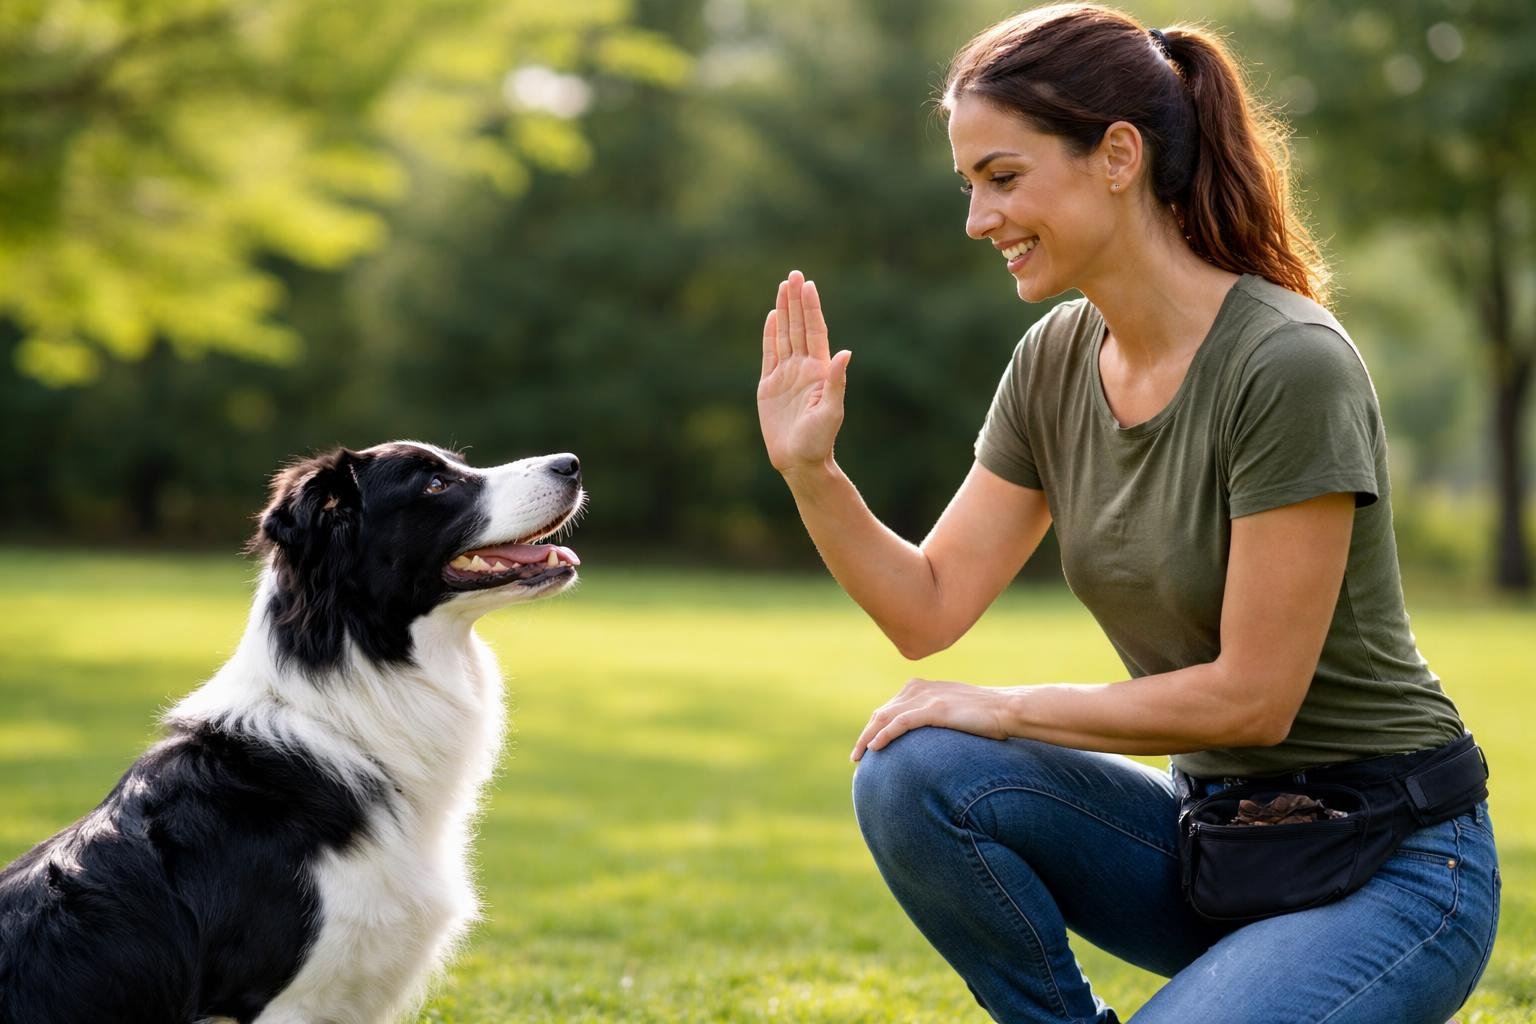
The sit command uses a simple upward hand motion that dogs can easily see and understand. The trainer raises their hand from waist level upward with the palm facing up, similar to a scooping motion. Some trainers prefer to hold their hand flat with the palm facing up and move it upward in a straight line.
To teach this signal, the trainer should start with their dog standing in front of them. They hold a treat in their hand and move it slowly upward and back over the dog’s head. As the dog’s nose follows the treat, their rear naturally lowers to the ground.
Once the dog reliably sits while following the treat, the trainer removes the food and uses just the hand motion. They should practice the signal multiple times each day in short sessions. The trainer must keep their hand movement consistent so the dog learns to recognize the exact same motion every time.
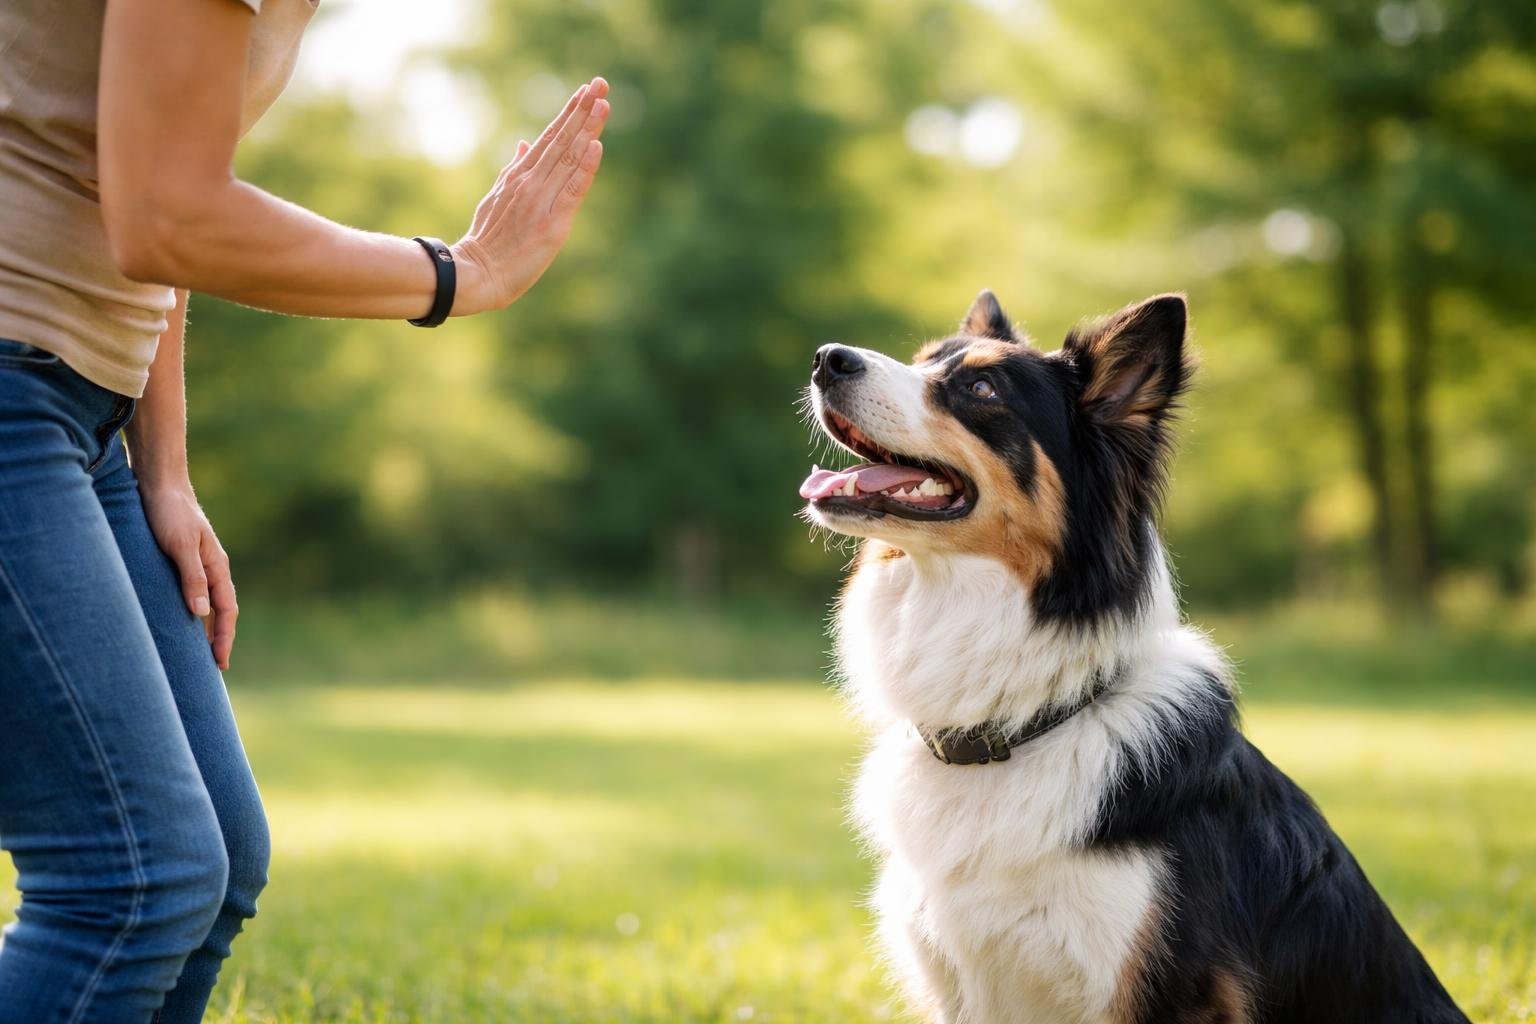
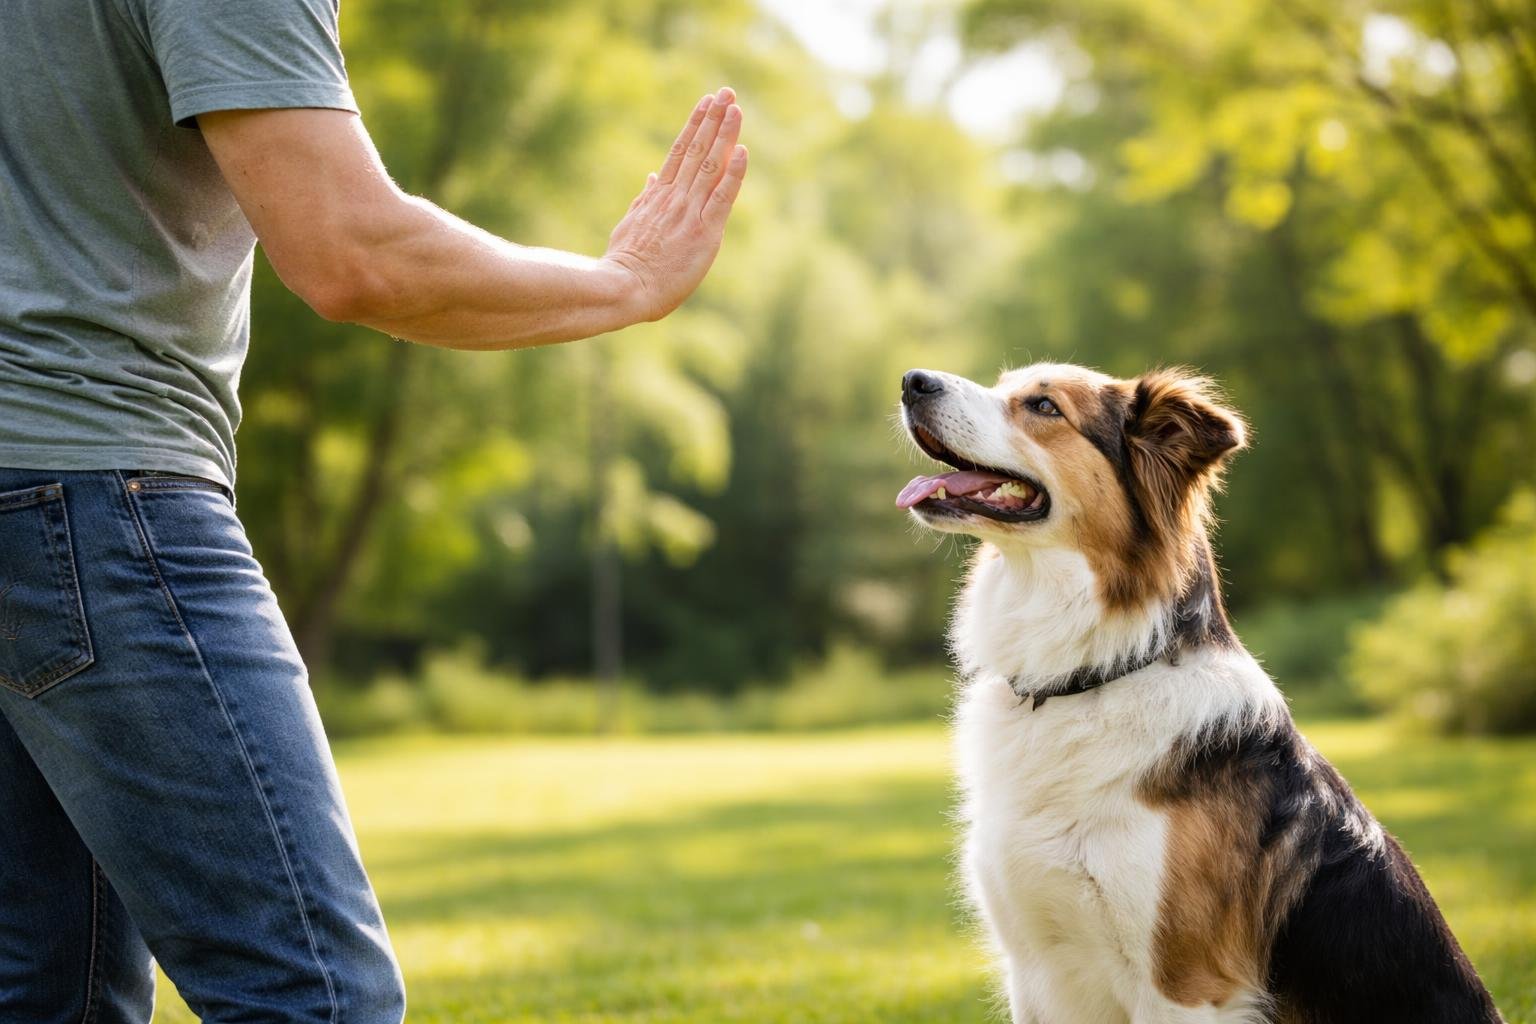
Stay
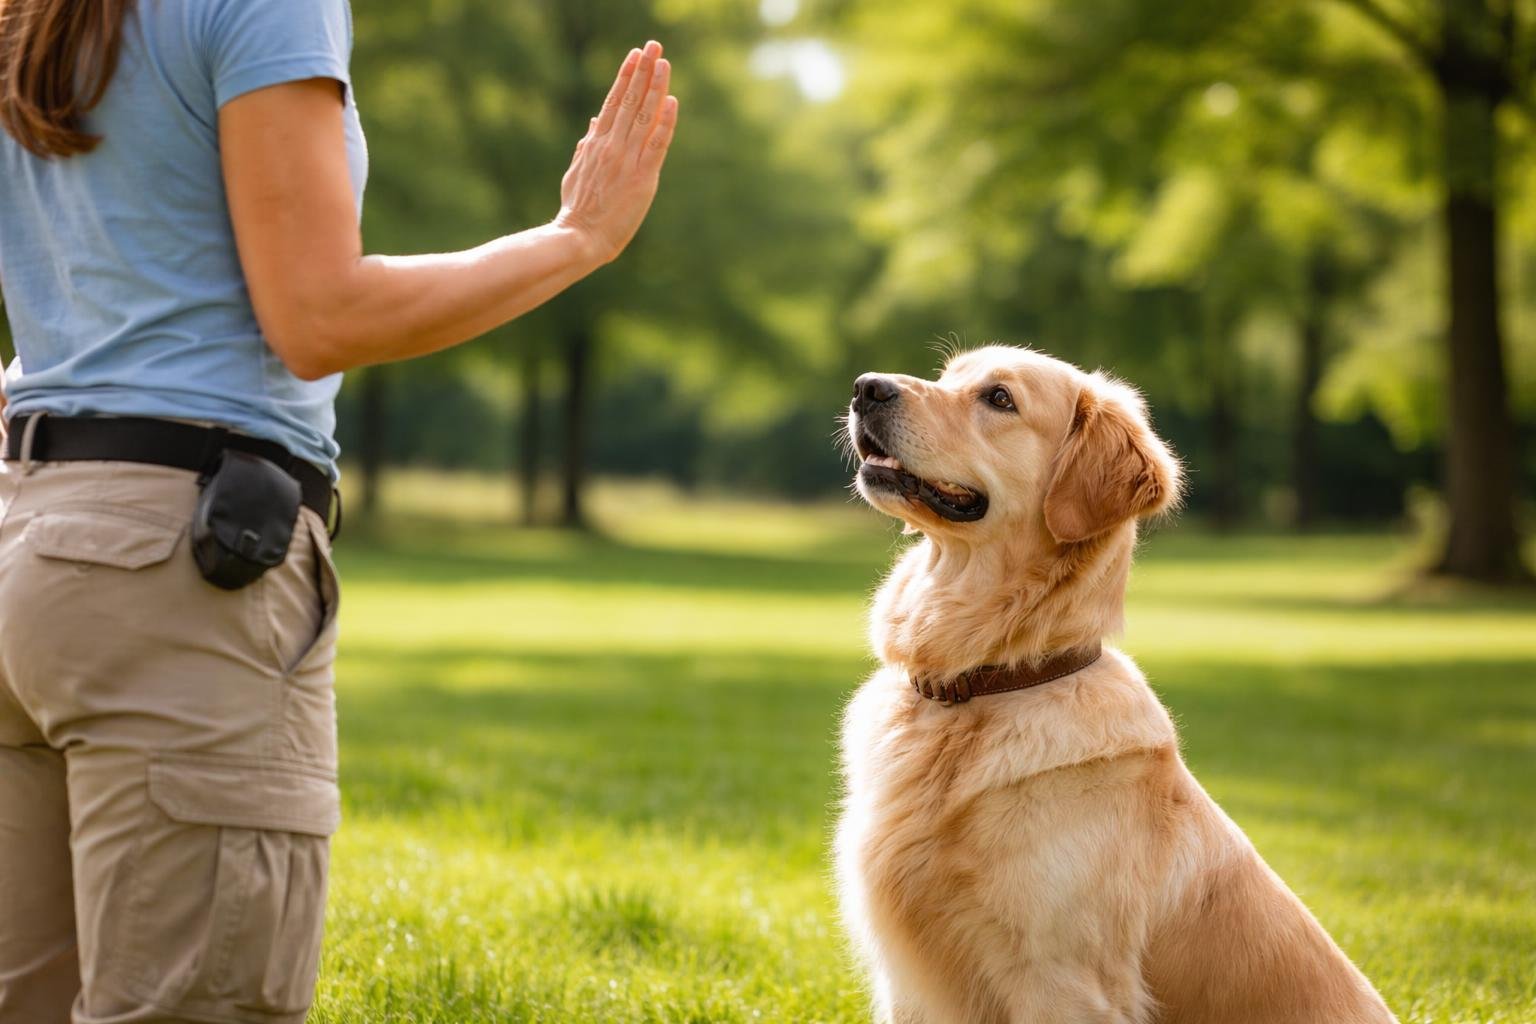
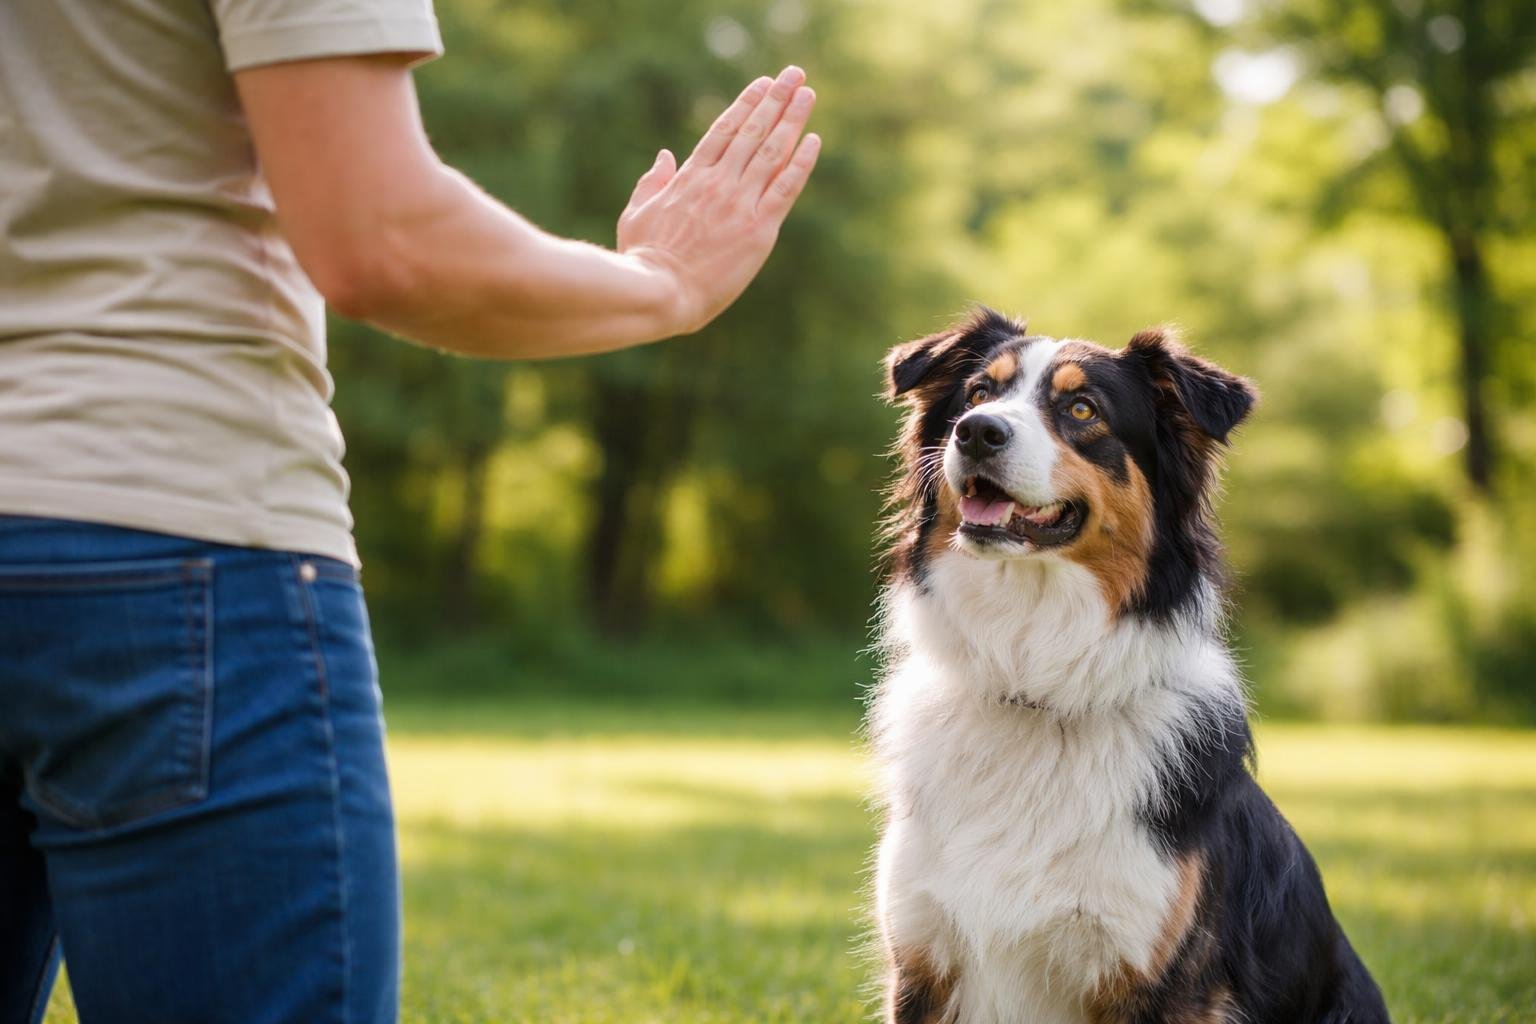
The stay signal tells a dog to remain in their current position until released. The most common hand signal involves holding the palm flat and facing it toward the dog, like a stop sign. The trainer extends their arm out from their body with fingers pointing up.
The trainer should start by asking their dog to sit or lie down first. They then show the stay signal while taking one small step backward. If the dog remains in place, the trainer returns and rewards them immediately.
Distance and duration should increase gradually over many training sessions. The trainer might step back two feet instead of one, or wait five seconds before rewarding instead of three. Dogs often struggle with this command because staying still goes against their natural instincts to follow their owner.
Down
The down signal asks a dog to lie flat on the ground with their belly touching the floor. The trainer starts with their hand raised at shoulder height, palm facing down. They then move their hand downward in a sweeping motion toward the ground.
Teaching down requires patience because dogs feel vulnerable in this position. The trainer begins with their dog in a sitting position and holds a treat near the dog’s nose. They slowly move the treat down to the ground and slightly forward, creating an L-shape path.
The dog should follow the treat with their nose, and their body will naturally lower. Some dogs only lower their front end at first, keeping their rear up in a play bow position. The trainer needs to wait for the full down position before giving the reward. They should practice on different surfaces so the dog learns to perform the command on carpet, grass, and tile.
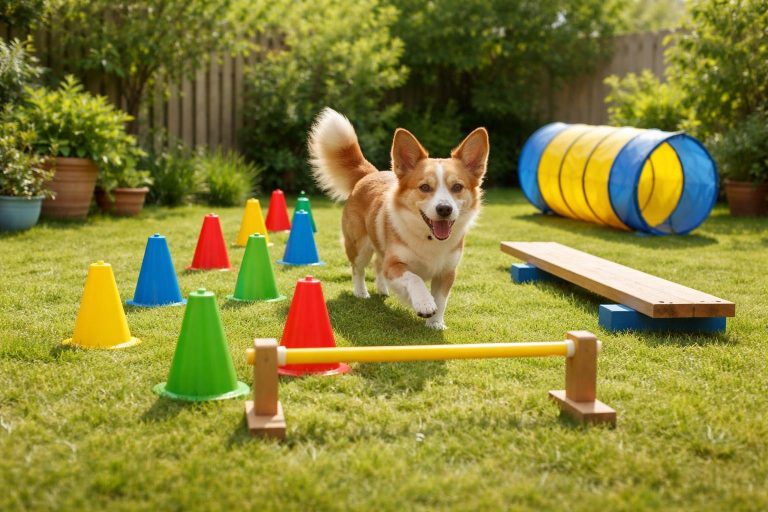
Building on the Basics
Once a dog masters sit, stay, and down, owners can introduce more advanced hand signals that give them better control in challenging situations. These three commands help manage a dog’s behavior around distractions and improve safety during walks.
Come
The come command brings a dog back to their owner from a distance. This signal typically involves extending one arm out to the side and then sweeping it across the body toward the chest. Some trainers prefer both arms extended outward before bringing them in together.
Start training this signal in a quiet space with minimal distractions. The owner should kneel down to appear less intimidating and more inviting. When the dog responds to the hand signal, reward them immediately with treats and praise.
Practice sessions should gradually increase in difficulty. Add distance between the owner and dog slowly over multiple training sessions. Introduce mild distractions like toys or other people once the dog reliably responds at close range.
This command can save a dog’s life in dangerous situations. A reliable recall keeps dogs safe near roads, off-leash parks, and during unexpected encounters with wildlife.
Heel
The heel signal keeps a dog walking calmly beside their owner’s leg. Most trainers tap their thigh or hold their hand flat against their leg at hip level. The dog should walk at the owner’s pace without pulling or lagging behind.
Begin by holding treats at thigh level while walking. The dog will naturally follow the hand that holds the reward. Give the hand signal each time before starting to walk. Reward the dog every few steps when they maintain the correct position.
Key elements for successful heel training:
- Keep the dog on the same side consistently
- Use short training walks of 5-10 minutes
- Stop walking if the dog pulls ahead
- Reward frequently during initial training
This signal proves especially useful in crowded areas or when passing other dogs on sidewalks.
Leave It
The leave it signal tells a dog to ignore something they want to investigate or eat. The most common signal involves holding an open palm facing the dog at eye level. This resembles a stop gesture.
Place a treat on the floor and cover it with your hand. Show the hand signal with your other hand when the dog tries to get the treat. Only reward the dog when they back away and make eye contact with you instead of focusing on the treat.
Progress to leaving treats uncovered on the floor. Practice with different objects like toys, food wrappers, or items found during walks. The dog must learn this signal applies to everything, not just training treats.
This command protects dogs from eating harmful substances or chasing dangerous animals. It also prevents unwanted behaviors like jumping on guests or stealing food from tables.
Advanced Signal Techniques
Wait and release signals give handlers precise control over their dog’s movements and help establish clear boundaries during training sessions.
Wait
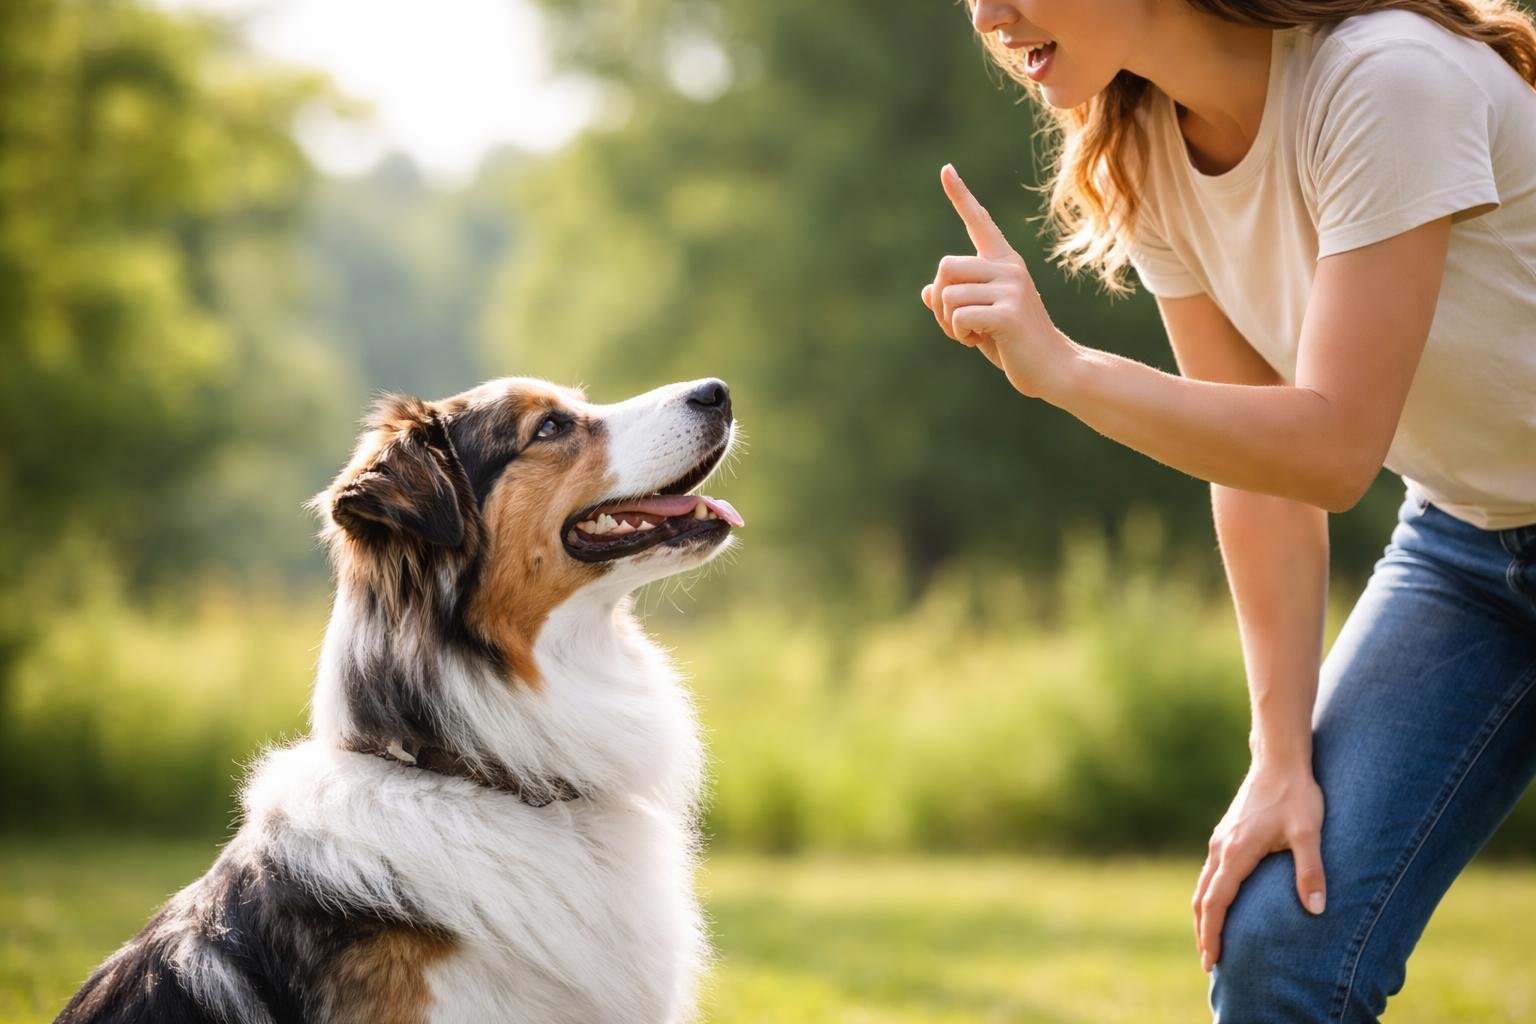
The wait signal teaches a dog to pause and hold their current position until given permission to move forward. This differs from a stay command because the dog remains ready to move rather than settling into a relaxed state. Handlers typically use an open palm facing the dog at chest height for this signal.
Training starts with short distances of just a few feet. The handler shows the wait signal while the dog stands at a doorway or before their food bowl. They hold the position for five to ten seconds before giving a release cue.
Distance and duration increase gradually as the dog masters the basics. This signal works well at doorways, before crossing streets, or when getting out of vehicles. Dogs learn to pause and check in with their handler before proceeding.
Release
The release signal tells a dog they’ve completed their task and can break from their current position. Most handlers use either a verbal cue paired with an outward hand sweep or both arms opening wide away from the body. Without a clear release signal, dogs may break position too early or remain confused about when they’re truly finished.
Consistency matters most with release signals. Using the same gesture every time prevents confusion and builds reliable responses. The handler should deliver the release signal with clear, deliberate movements that the dog can see from various distances.
Dogs should learn that only the official release signal ends a command. Random movements or distractions shouldn’t cause them to break position. Practice release signals after every wait, stay, or position-holding exercise to reinforce this boundary.
Integrating Hand Signals with Verbal Cues
Dogs naturally respond better to visual cues than spoken words, with studies showing up to 99% accuracy in following hand signals. The most effective training approach pairs both methods together from the start.
Transitioning from Voice to Signals
Most dogs learn verbal commands first, which makes adding hand signals straightforward. The trainer should introduce the hand gesture while saying the verbal command at the same time. After several repetitions, the dog begins to associate both cues with the desired action.
The next step involves performing the hand signal slightly before the verbal command. This timing helps the dog start recognizing the visual cue as the primary instruction. Eventually, the trainer can use the hand signal alone while keeping the verbal command ready as backup.
Training Timeline:
- Week 1-2: Pair hand signal with verbal command every time
- Week 3: Start hand signal 1 second before verbal command
- Week 4: Use hand signal only, reward success immediately
Practice sessions should last 5-10 minutes to maintain the dog’s focus. The trainer needs to keep hand movements consistent in shape, speed, and position. Dogs notice small changes in body language that humans might miss.
Troubleshooting Common Challenges
Some dogs struggle to focus on hand signals when they rely heavily on verbal cues. The trainer should reduce their talking during practice sessions and reward the dog only when they respond to the visual cue. Background noise actually helps dogs learn to watch for hand signals instead of listening for commands.
Inconsistent hand movements confuse dogs and slow their progress. All family members should use identical gestures for each command. Recording videos of training sessions helps identify accidental variations in signal execution.
Distance affects visibility, so trainers need to make larger, more deliberate movements when working from far away. Poor lighting also makes hand signals harder to see. If the dog ignores signals outdoors but follows them inside, the environment likely contains too many distractions for their current skill level.
Maintaining Consistency in Training
Consistency is the foundation of successful hand signal training. Dogs learn best when they see the same signal performed the same way every single time. A sit signal should look identical whether a dog owner uses it on Monday morning or Friday evening.
Everyone who trains the dog should use the exact same hand signals. If one person uses a flat palm for stay while another person uses a closed fist, the dog will become confused. Family members need to agree on which signals to use before training begins.
Key Elements of Consistent Training:
- Use the same hand motion for each command every time
- Keep the hand signal at the same height and distance from the dog
- Perform signals at the same speed
- Train at regular times throughout the week
- Reward the same behaviors each session
Dogs pick up on small differences in hand movements. A signal that starts at shoulder height one day and waist height the next will slow down the learning process. Trainers should practice their signals in a mirror to check for consistency.
Training sessions work best when they happen at similar times each day. Short, regular practice sessions of 5-10 minutes are more effective than occasional long sessions. This routine helps dogs know what to expect and reinforces their learning.
A printable hand signal chart can help family members stay on the same page. Everyone can refer to the chart to make sure they perform each signal correctly.
Addressing Common Training Mistakes
Many dog owners struggle with hand signal training because they make a few common errors. Understanding these mistakes helps trainers avoid frustration and achieve better results.
Inconsistent signals create the biggest problem in hand signal training. When family members use different gestures for the same command, dogs become confused and fail to respond reliably. Everyone who interacts with the dog must use identical hand movements.
Trainers often introduce signals too quickly without proper reinforcement. Dogs need time to associate each gesture with its corresponding action. Rushing through multiple signals in one session overwhelms the dog and reduces learning effectiveness.
Poor timing also undermines training success. The hand signal must appear before or during the verbal command, not after. When trainers give signals too late, dogs learn to wait for voice commands instead of watching for visual cues.
Body language sends unintended messages during training sessions. Leaning forward, shifting weight, or changing facial expressions can confuse dogs about what the actual signal means. Trainers should maintain a neutral posture and let the hand movement communicate the command.
Training in distracting environments before a dog masters the basics sets them up for failure. Dogs need to learn signals in quiet spaces first. Once they respond consistently, trainers can gradually add distractions.
Some owners forget to reward immediately when their dog responds correctly to a hand signal. The treat or praise must come within seconds of the correct behavior. Delayed rewards make it harder for dogs to understand which action earned the positive reinforcement.
Long-Term Success and Reinforcement
Dogs need ongoing practice to maintain their hand signal skills, and they must learn to respond in various locations beyond the initial training space. Regular skill refreshers and practice in new environments prevent signal confusion and ensure reliable responses.
Refreshing Skills Regularly
Training doesn’t stop once a dog learns a hand signal. Dogs forget commands without regular practice, just like people forget skills they don’t use.
Owners should practice hand signals at least 2-3 times per week even after their dog masters them. These practice sessions can be short, lasting just 5-10 minutes. Quick training sessions work better than long ones because dogs stay focused and engaged.
Practice strategies include:
- Running through all eight signals in random order
- Starting each session with the easiest signals to build confidence
- Using treats intermittently rather than every time once skills are solid
- Mixing hand signals with verbal commands to keep the dog thinking
Dogs may respond slower to hand signals they haven’t practiced recently. This is normal. Owners should return to the original training steps if their dog struggles with a previously learned signal.
Generalizing Signals in Different Settings
A dog that sits perfectly in the living room might ignore the same hand signal at the park. Dogs don’t automatically understand that a hand signal means the same thing in different places.
Owners need to practice hand signals in multiple locations. Start with quiet areas that have few distractions, then gradually move to busier spaces. This process is called generalization.
Effective training locations include:
- Different rooms in the home
- The backyard or front yard
- Quiet streets or parking lots
- Parks with moderate activity
- Areas with other people and dogs nearby
Each new environment requires patience. Dogs take longer to respond when they’re distracted by new sights, sounds, and smells. Owners should increase the value of their rewards in challenging locations, using higher-value treats or extra praise. Distance also matters – practice signals from various distances, starting close and gradually moving farther away.
Frequently Asked Questions
Many dog owners have similar questions when they start using hand signals for training. The following answers cover which signals to teach first, how to introduce them to puppies, the proper techniques for common commands like sit and come, and how to switch from verbal commands to visual cues.
What are the standard hand signals every dog should learn first?
The most important hand signals to teach first are sit, stay, down, and come. These four commands form the foundation of good dog behavior and help keep dogs safe in everyday situations.
Sit uses a flat hand moving upward from waist level. Stay is shown with an open palm held toward the dog’s face. Down requires a flat hand moving downward toward the ground. Come is signaled by sweeping the arm across the chest or bringing the hand toward the body.
How do you teach a puppy to respond reliably to hand signals?
Start training a puppy with hand signals by pairing each gesture with a treat and verbal command. The puppy learns to connect the hand movement with the action and the reward that follows.
Keep training sessions short, around 5 to 10 minutes, since puppies have limited attention spans. Practice the same signal multiple times each day in a quiet space with few distractions.
Once the puppy responds correctly most of the time, gradually remove the verbal command. The puppy should start following the hand signal alone. Reward the puppy every time they get it right to build a strong connection between the signal and the behavior.
What is the correct hand signal for “sit,” and how do you reinforce it?
The standard hand signal for sit involves holding a flat hand at waist level and moving it upward toward the shoulder. Some trainers use a closed fist or point one finger upward instead.
Hold a treat in the signal hand at first and move it up and back over the dog’s head. The dog’s bottom naturally drops to the ground as they look up to follow the treat. Say “sit” while making the gesture and give the treat immediately when the dog sits.
Repeat this process 5 to 10 times per session. After several successful repetitions, try the hand signal without the treat visible in the hand. The dog should still sit because they’ve learned what the gesture means.
What are the most effective nonverbal commands to use for everyday obedience?
The most useful everyday nonverbal commands include sit, down, stay, come, and watch me. These signals help manage a dog’s behavior during walks, at the vet, or when visitors arrive.
Watch me is signaled by pointing two fingers at the eyes or tapping near the face. This command gets the dog’s attention before giving another signal. Leave it uses a closed fist or flat hand pushing toward the dog to stop them from picking up something dangerous.
Release commands like “okay” or “free” can use a sweeping motion with both hands. This tells the dog they can move from a stay position or stop working.
How do you teach and proof a clear hand signal for “come” in different environments?
The come signal typically involves sweeping an arm across the chest or bringing the hand from extended to chest level. Some trainers pat their leg or make a beckoning motion instead.
Start practicing come indoors where the dog has few distractions. Give the hand signal and reward the dog heavily when they reach you. Use high-value treats like chicken or cheese to make coming when called very rewarding.
Move training to the yard once the dog responds well inside. Practice with a long leash so the dog can’t ignore the command. Gradually add distractions like toys or other people. If the dog doesn’t respond in a new environment, go back to an easier setting and build up slowly.
How can you transition from voice cues to hand signals without confusing your dog?
Begin by using the hand signal and verbal command together every single time. The dog learns that both cues mean the same thing. This pairing should continue for at least two weeks or until the dog responds quickly and correctly.
Next, give the hand signal one second before saying the word. This small delay helps the dog start paying attention to the visual cue. The verbal command still comes as backup if needed.
Finally, try giving only the hand signal in easy situations with no distractions. If the dog responds correctly, reward them. If they seem confused, add the verbal command back and practice the pairing for a few more days before trying again.